
|
Home Made Nut Butters 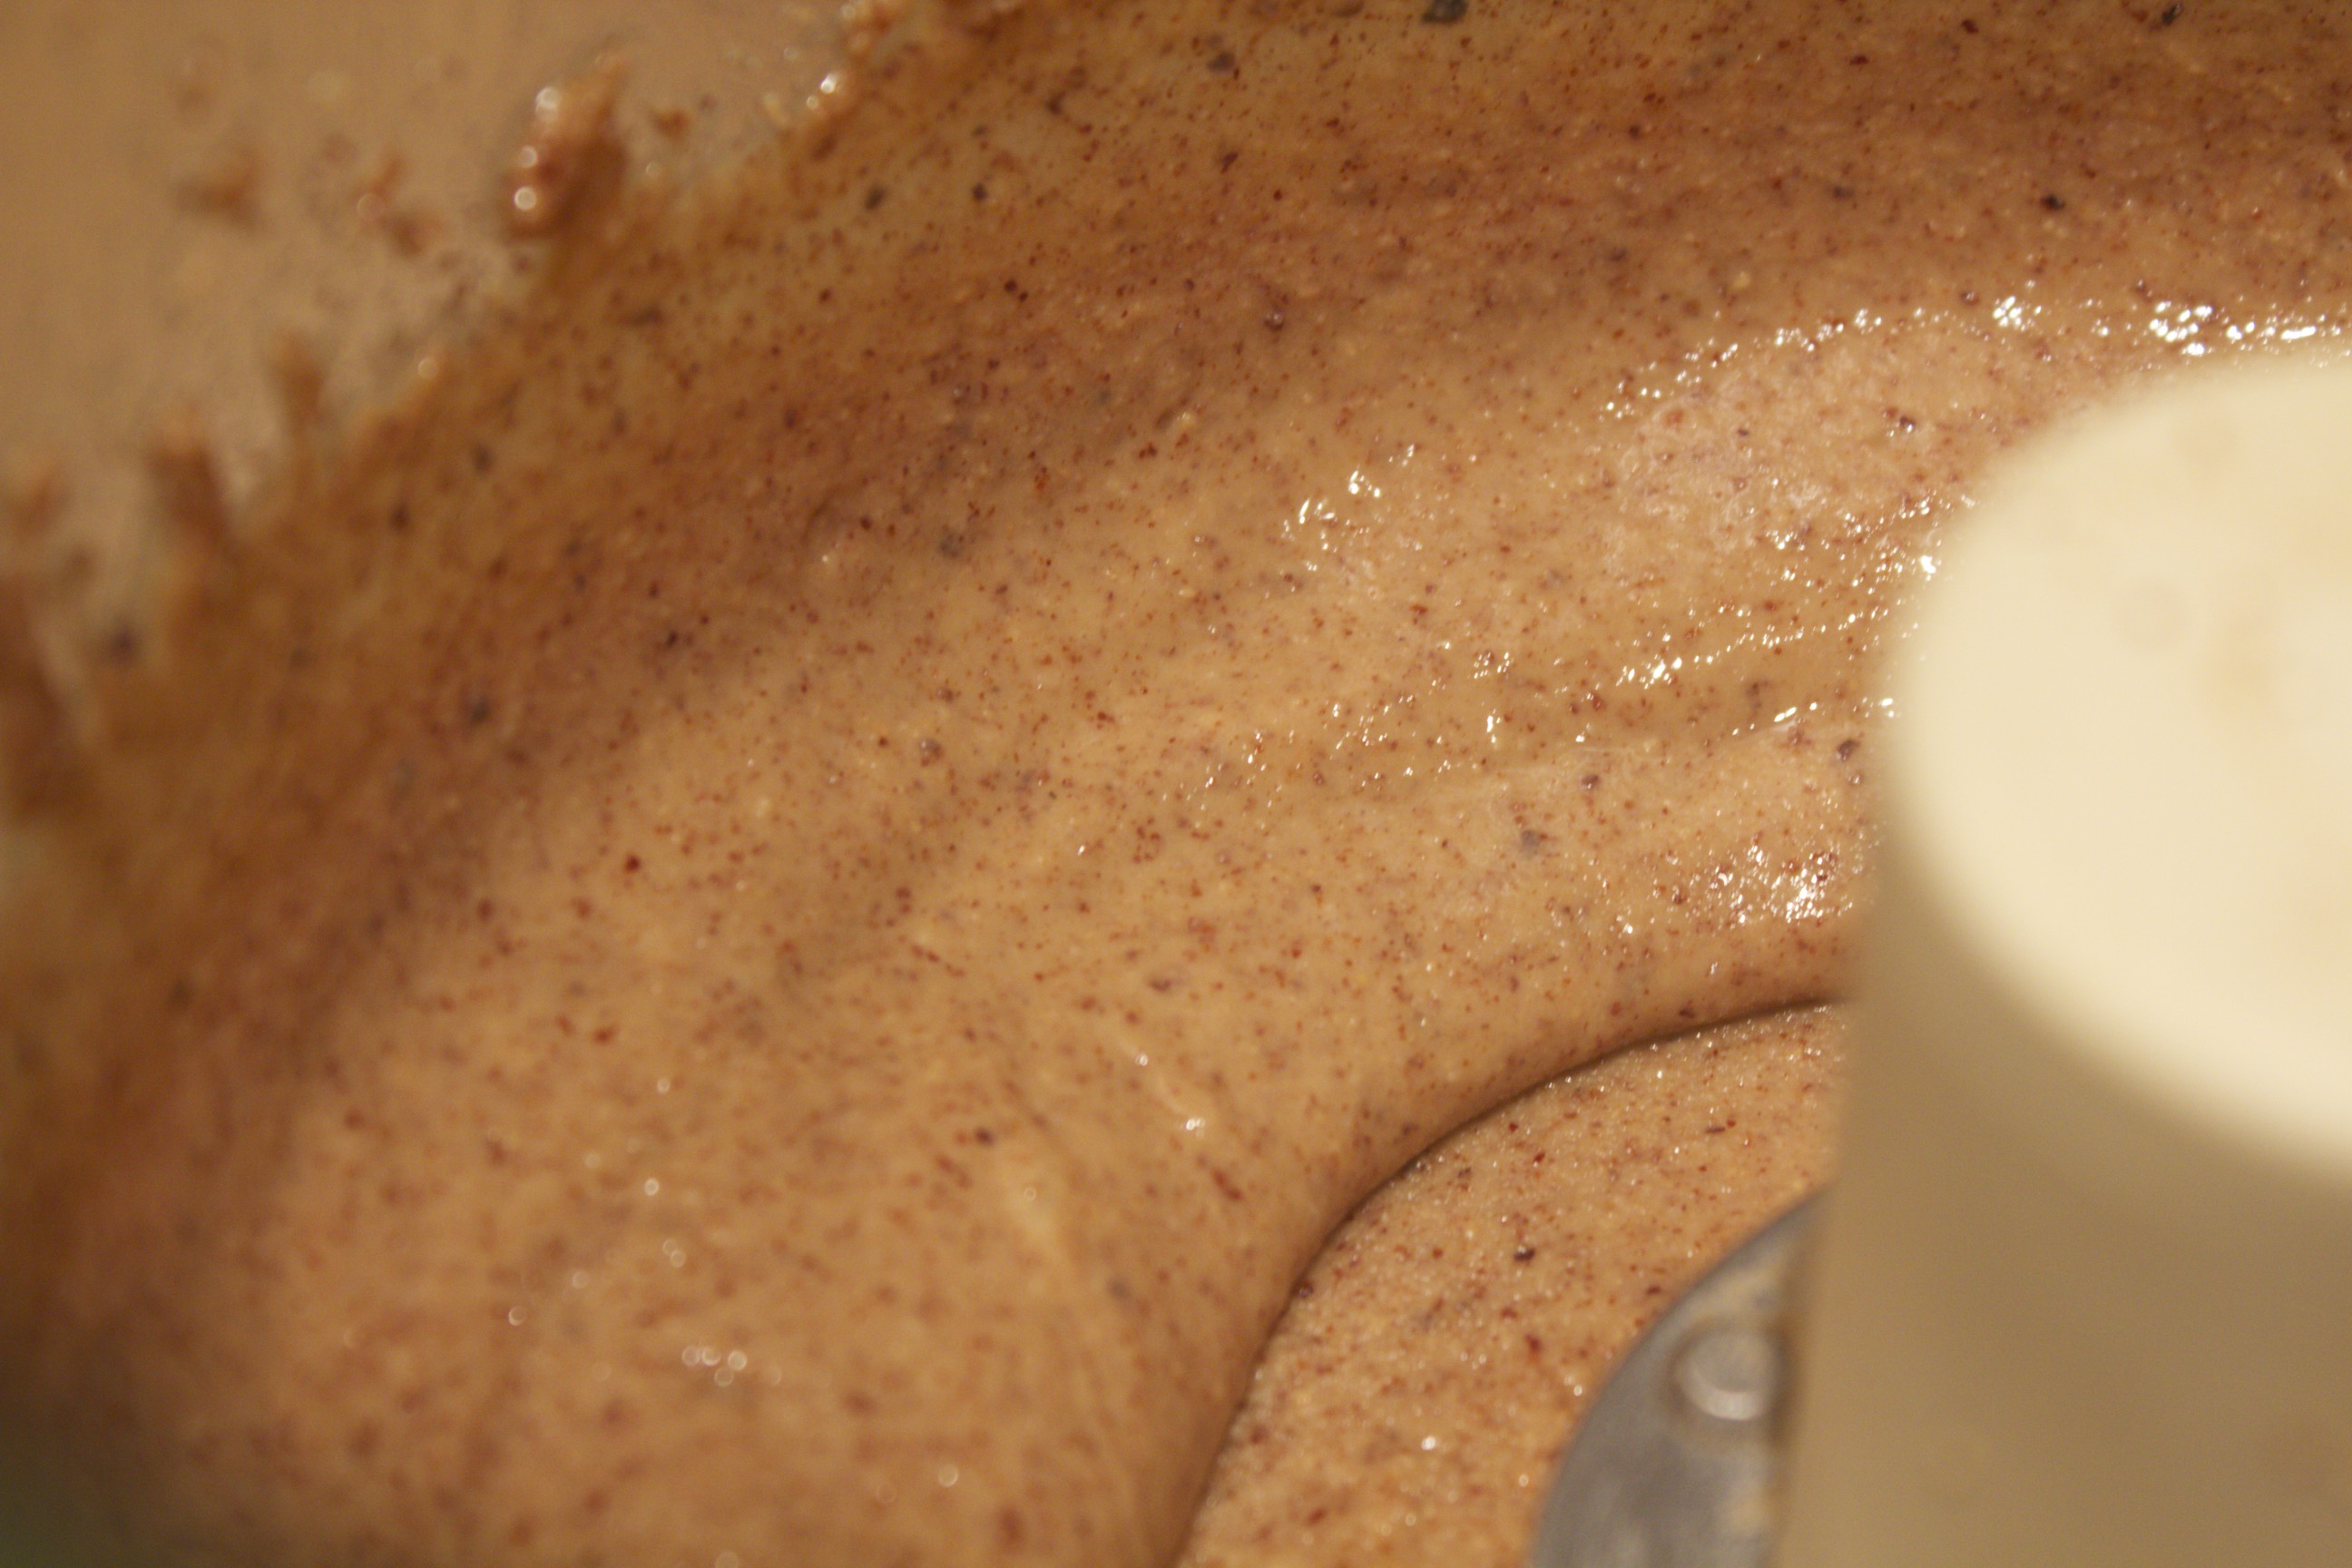 Finished Almond Butter In today’s video, I show how to make nut butters from scratch. Not only is homemade nut butter more delicious and economical than the store-bought variety, it’s a lot more digestible. After you do a small amount of preparation, it’s also quite simple to make. Nuts contain an enzyme inhibitor called phytic acid, which keeps them protected from rancidity and growth. They won’t germinate until the right conditions—moisture and time— are present. You can mimic nature’s process by soaking the nuts overnight in water with a little salt (a tablespoon per pound) for flavor. The next step is to drain and rinse the nuts before spreading them on a parchment-covered baking tray. Bake them in an oven set to 300 degrees for about an hour or so— until dry and toasted —to make nut butter that tastes roasted. You can also dry the nuts slowly at low heat, ranging from 115˚ in a dehydrator to 200˚ in an oven. Just make sure that whatever the heat that you use (the lower the temperature, the longer the nuts take to crisp), you don’t remove the nuts until they are really dry. At this point, you can store the prepared nuts at room temperature for up to a month. In today’s video, I’m starting with 3 cups of almonds, about a pound, which turns into 2 cups of butter. The one piece of equipment needed to make nut butter is a food processor fitted with the metal blade. There’s also one essential little trick: rub the inside of the food processor with oil—coconut oil is especially good—which keeps the butter from sticking to the sides. Add the nuts and whirl, and keep processing until you have what you want. That’s all there is to it. In the first stage, the nuts turn to powder. After a couple of minutes of whirling, the nuts start to stick together and clump. At this point, you’ll be able to appreciate how that preliminary greasing keeps the nuts from sticking to the sides. Don’t stop at this first stage; you’ll have better results if you let the processor go longer. After 6 to 12 minutes, the natural oils in the almonds are released and rise to the top; and you have a creamy, smooth, finished butter. Transfer the finished product to jars, and store in the refrigerator. In the video, the almond butter took only 6 minutes, but sometimes it does take longer: be patient, and keep on whirling. The cashew butter I demo in the video took 9 minutes of processing. Cashews, by the way, should be soaked only 4 to 6 hours or else their texture can be compromised. Almonds, hazelnuts, pecans, and walnuts benefit from an overnight soak. I’ve kept the nut butters here simple, but if you like you can stir or pulse in all kinds of flavorings once the butter is finished: salt, raisins, honey, or preserves are just a few ideas. Embellished or simple, the glistening spreads are truly irresistible, and they really do feel lighter on the belly than any store-bought varieties. Once you make your own, you’re likely to be as excited about these as I am, and you’re not likely to want to return to commercial selections. Share on Facebook and Twitter | nuts and seeds, techniques | No comments
Leave a Reply
|
